|
10/22/2015 2 Comments Tutorial | Negative Space
Technique 1: Free Hand
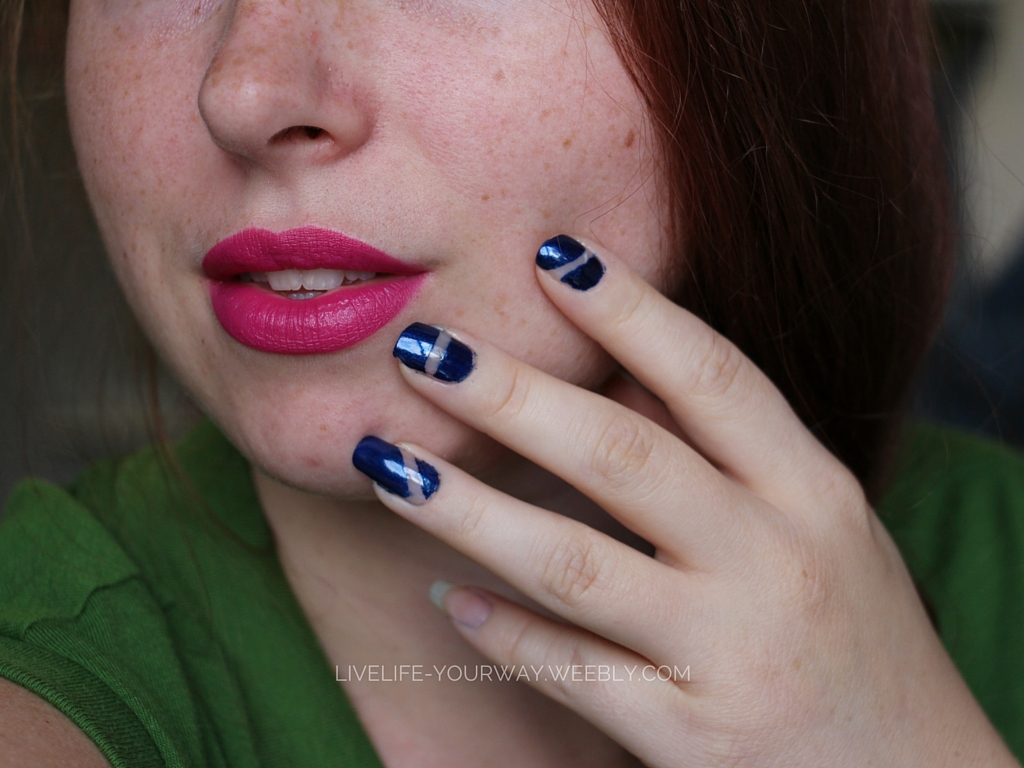
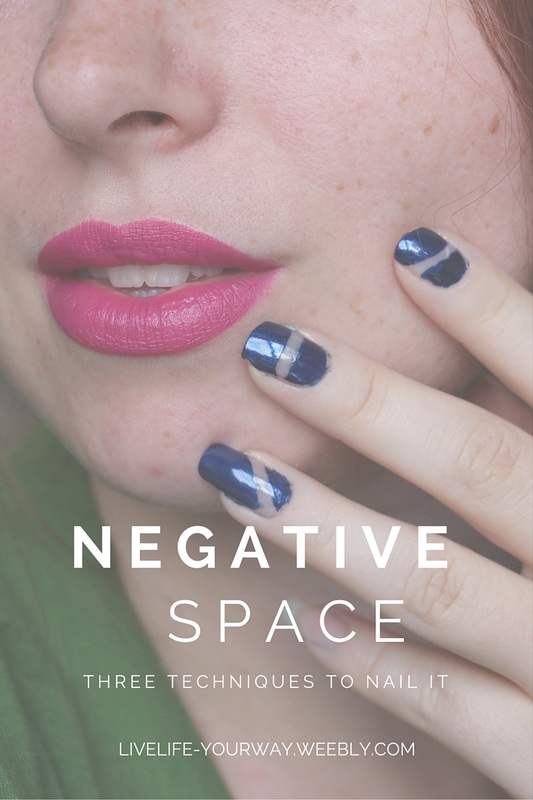
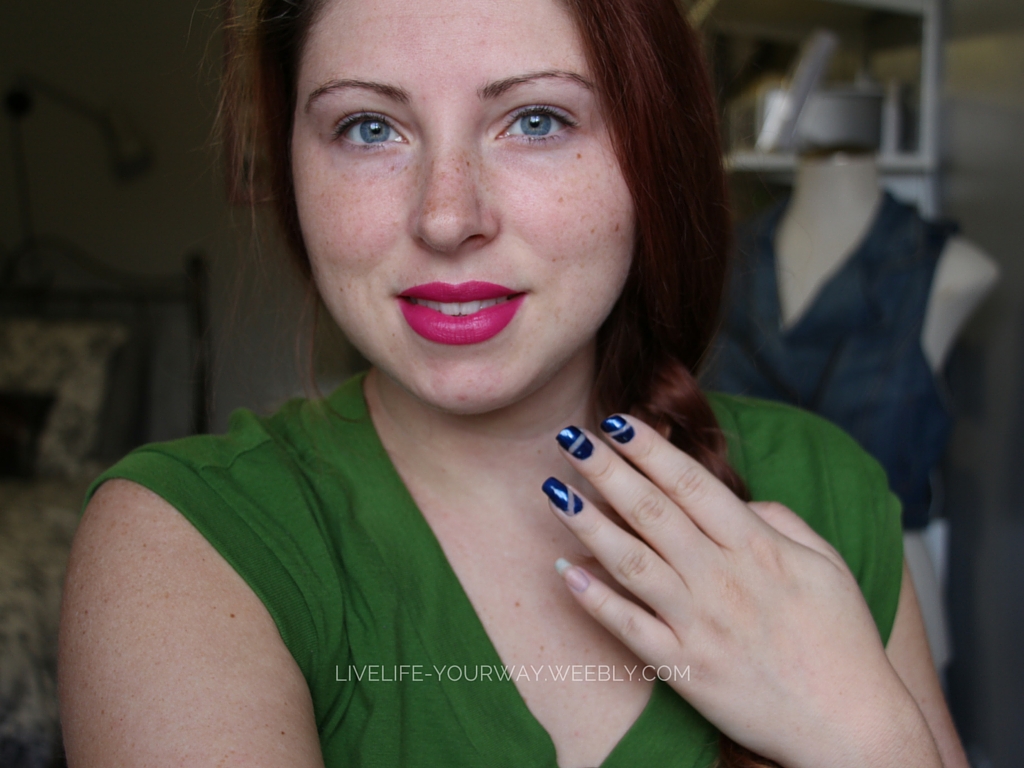
This isn't too hard if you are going for simple lines, but if you are going for a more complex design you'll need a steady hand. I used a nail art brush to define the line and then used the polish to fill in the rest of the space I wanted colour. Technique 2: Polish Remover This is probably the easier of the two free hand methods, you simply paint your nail the colour(s) that you want and do the detailing with a nail art brush dipped in remover. This helps to give a smooth look to the polish and I find the line to be more crisp with the brush. Technique 3: Tape As I mention in the video, nail striping tape is ideal for this and will give you flawless lines. I do not yet own any but I did find a way to substitute regular tape. But take heed, you can't completely cover the tape in nail polish or it won't remove...like at all...(yes I may have tried that first and failed...miserably.) So I ended up free handing the top portion of my nail. Using regular tape would be great if you wanted to do large negative spaces on the nails vs small lines like in my design here. I've also seen half-moon manicures done with negative space and love that look. Like all other nail art designs, it will take time to master it and make it perfect but it's a great way to spice up a one-colour manicure. Just to note - this is OPI Yoga-ta Get This Blue. You will be seeing me rock this a lot in the coming weeks. Let me know what you think of this design and if it's something you'd wear!
2 Comments
Leave a Reply. |
CategoriesAll China Glaze Christmas Collection Crackle Creanails Designs Diy Easter Gap Inc Girlie Hard Candy Haul Imats ImPRESS Joe Fresh Julep La Colour Mani Monday Mini Collection Muted Nail Art Nail Polish Notd Nyx Opi Pastels Review Reviews Revlon Rimmel London Sally Hansen Seasonal Shatter St Patrick's Day St. Patrick's Day Subscription Swatches Tutorial Valentine's Day Video |
Social Media |
Contact |
© COPYRIGHT 2015. ALL RIGHTS RESERVED.
|


 RSS Feed