|
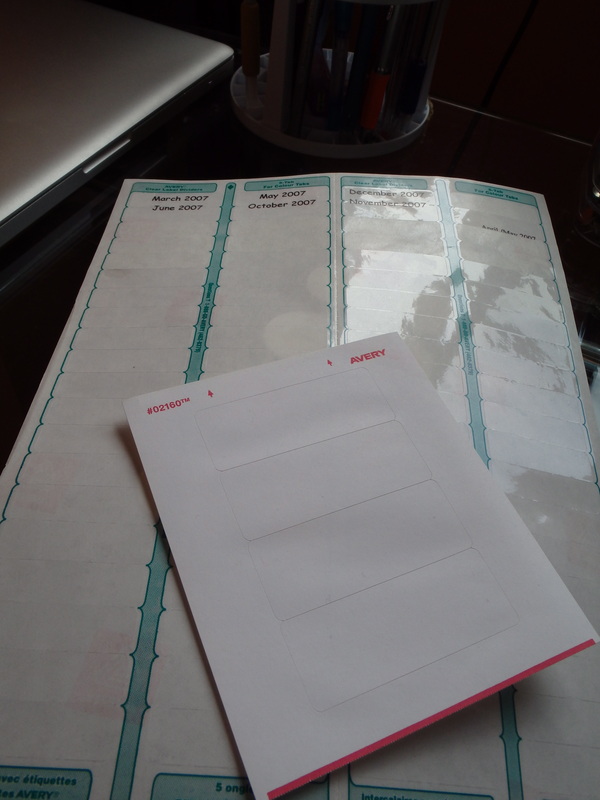
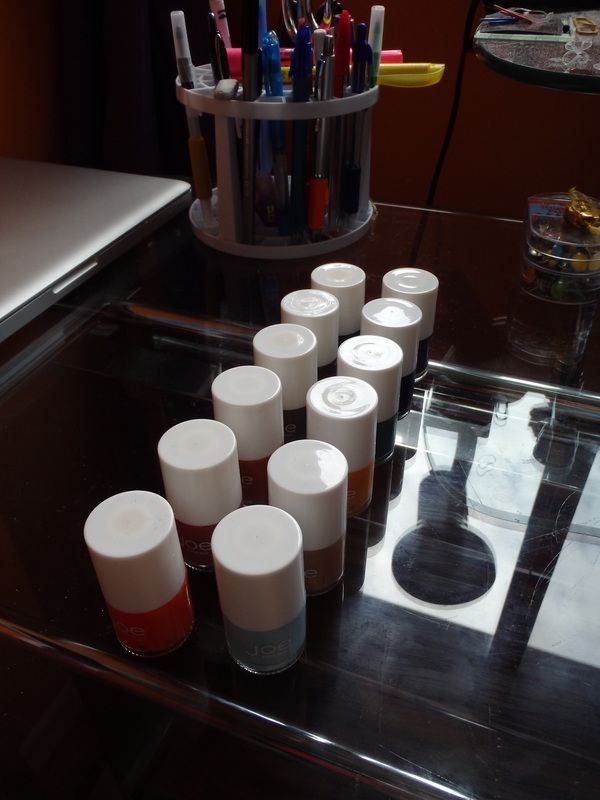
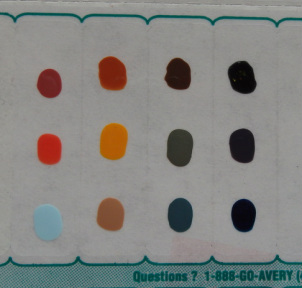
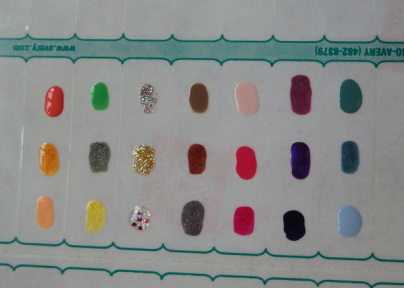
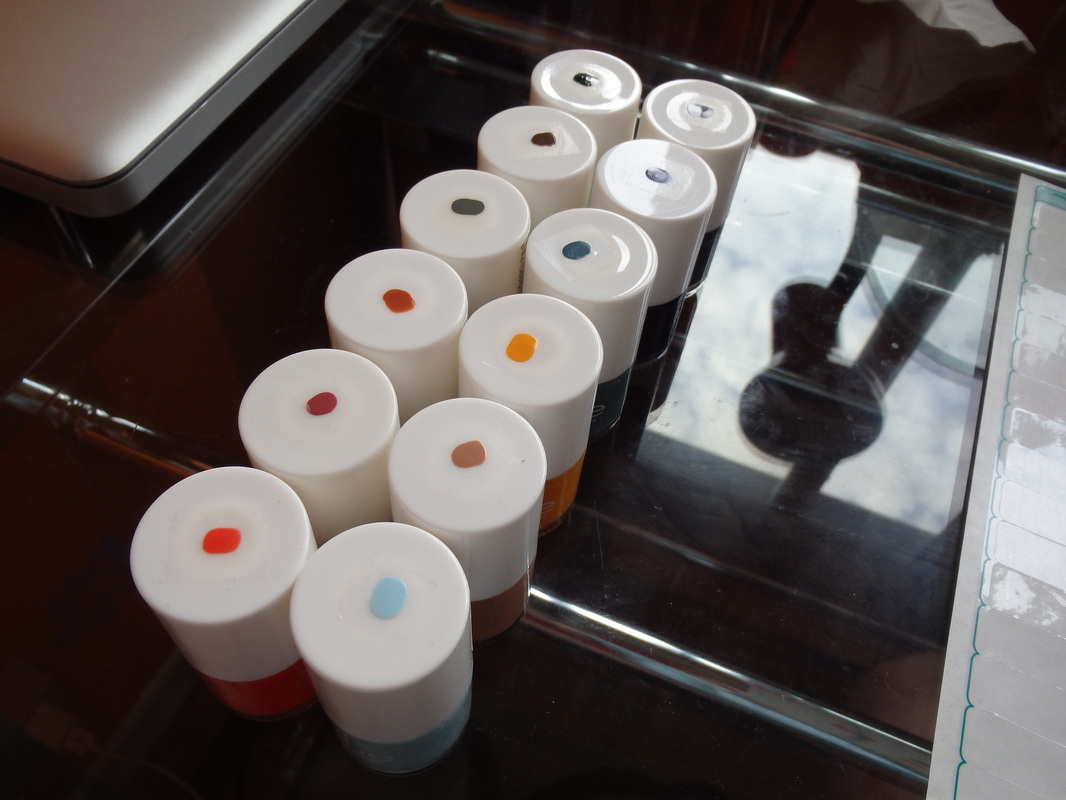
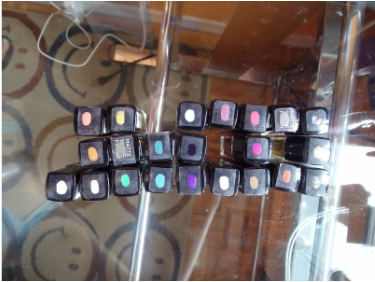
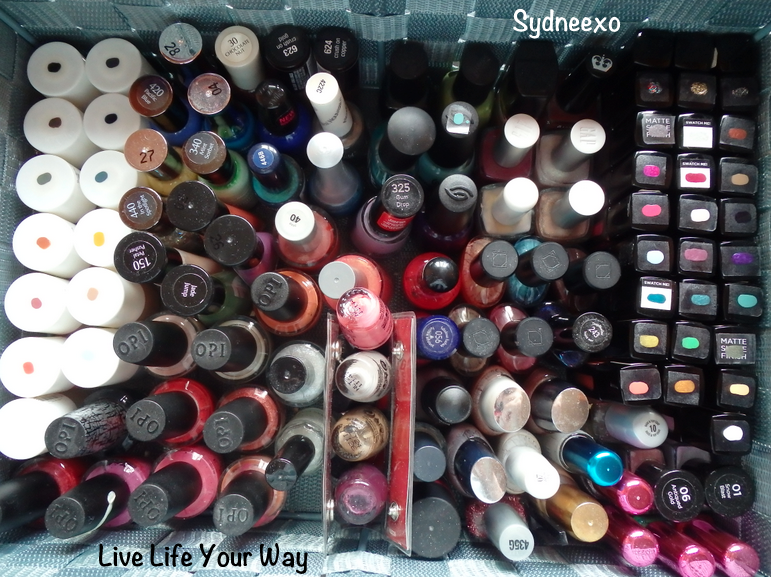
6/5/2013 0 Comments DIY | Viewing Your Collection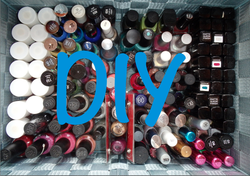 Today I'm going to share with you a DIY I've been meaning to do since January. Back in January Julep released their new bottle lids which pop off and have a "Swatch Me" sticker but because I skipped the month, I didn't get the sticker sheet they gave out for use on their older bottles. But no worries! My creative brain came up with a simple solution :) Not all of use have the wall space to hang polish racks to display our beautiful polishes, so we have to resort to other means. I personally store most of my collection in a blue woven basket that I got as part of a set (they sell similar ones, in various sizes, at the Dollar Store in black, brown & beige). I stand up my polishes so it can sometimes be hard to tell which bottle is what depending on their shape. So I took the inspiration from Julep and created my own swatch top stickers for two brands of polishes, Julep & JOE Fresh. I will do more at a later time for some of the other polishes that are harder to see but for now these are the two brands I wanted to see the most since I have so many of them. Our list of supplies is small: - Polish bottles you want to swatch - Labels (either white or clear, I chose clear) - Scissors Get your labels & line up your bottles, and away we go! I organized my polishes by colour but if you don't have a system in place then you don't need to worry so much about how you paint the labels. I fit 3 colours comfortably on each thin label (could have pushed for 4 but wanted to have room to cut & a place to push down when putting it on the bottle). So I painted them my colour order & got this: I waited for the polish to try before touching the labels because I didn't want to have to redo any of them. Also my suggestion is to do it in larger chunks and not just a couple polishes at a time that way you can just wait for them all to try & do it all at once. When the polish is dried, I cut between the swatches, placed it on the tops of my bottles (which you should wipe with a tissue to pick up any dust or residue on it) and TADA! You're done! NOW when I look into my basket of goodies I know what I'm reaching for! So happy I've done this & like I said, I will be adding them to a few more polishes here and there but most I can see because of the bottle shape (i.e. OPI).
I hope you enjoyed this if you are like me and don't have the wall space for a beautiful display. Let me know if you if you use this for your collection & if you do take a picture and hashtag #sydneexoDIY on Twitter & Instagram, I would LOVE to see your collections!! I have another nail collection post for you that is somewhat DIY so look for that soon as well! xo
0 Comments
Leave a Reply. |
CategoriesAll China Glaze Christmas Collection Crackle Creanails Designs Diy Easter Gap Inc Girlie Hard Candy Haul Imats ImPRESS Joe Fresh Julep La Colour Mani Monday Mini Collection Muted Nail Art Nail Polish Notd Nyx Opi Pastels Review Reviews Revlon Rimmel London Sally Hansen Seasonal Shatter St Patrick's Day St. Patrick's Day Subscription Swatches Tutorial Valentine's Day Video |
Social Media |
Contact |
© COPYRIGHT 2015. ALL RIGHTS RESERVED.
|



 RSS Feed