|
3/22/2021 1 Comment 3 Easy Home Makeovers
If you've been following my vlogs recently, you'll have seen the 3 at home projects I completed that have made me SO incredibly happy. They are easy and affordable which make them a win-win! Hopefully with spring here now, you get some inspiration to add to your spring cleaning!
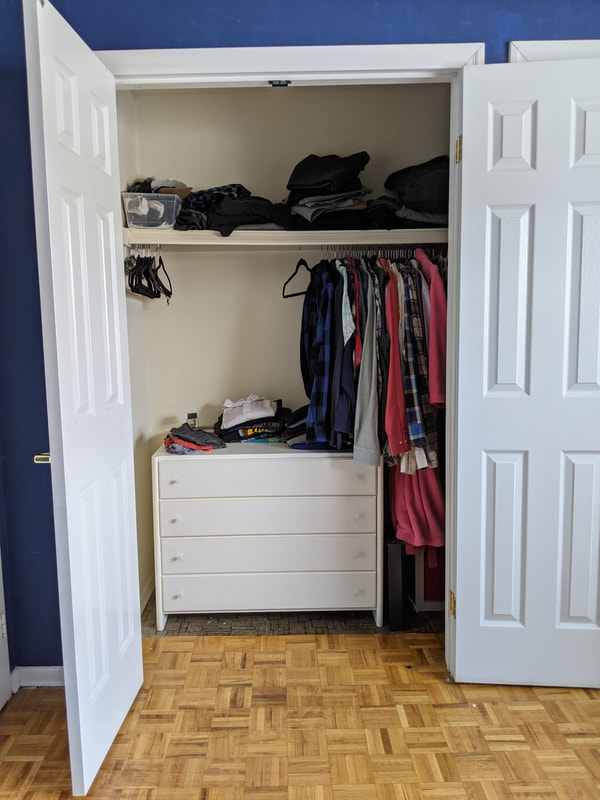
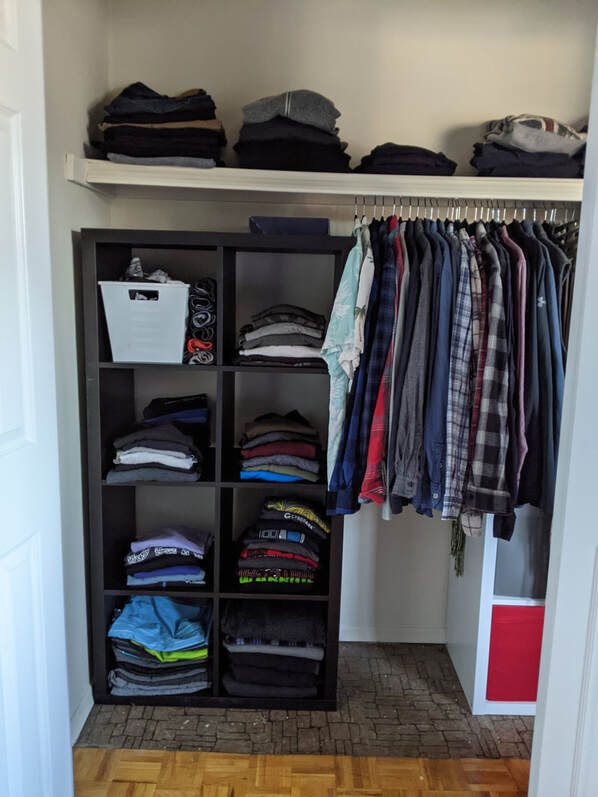
The first project that I have been stalling on for months now, is making over Scott's side of the closet. I kinda take up about 90% of the closet...but it's not my fault he doesn't own that many clothes and I do? Anyways. We contemplated doing some DIY built ins but with saving for a house, we figured something cheap and cheerful would best suit us. I have an IKEA Kallax unit on my side of the closet and I love it, so we decided to pick one up for Scott as well. I love the KALLAX units because they really are so versatile and can easily be used in a future house, just about anywhere. If we did any kind of built in, it would not only have to stay here, but it would need to be ripped out before we moved out and that would just be wasteful.
Originally, I had a 4 drawer unit with most of my tops in Scott's side, because he couldn't STAND it being on his side of our room, as he had the unfortunate luck of stubbing his toe on it (totally not my fault)! To be fair, it wouldn't have actually fit on my side with how our room is arranged so I won and it got put into the closet when I pulled out another storage piece months ago. So I had to find somewhere for the drawers (we aren't selling it because we will use it in future) and then it was time to get the KALLAX. Scott was using 3 of my bins, so I was able to move 3 out of 4 drawers into the bins of my unit. But I do have one left that is just chilling around until I can find a way to store it (in Scott's unit...muahaha). I also obsessively folded and organized Scott's clothes for the unit because it was just incredibly satisfying, which I'm sure you'll all agree. Will it stay like that? HA. No. But a girl can dream...
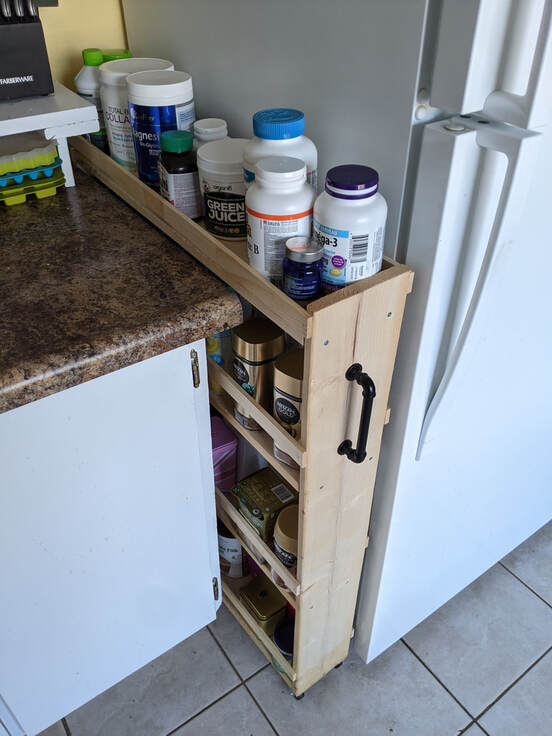
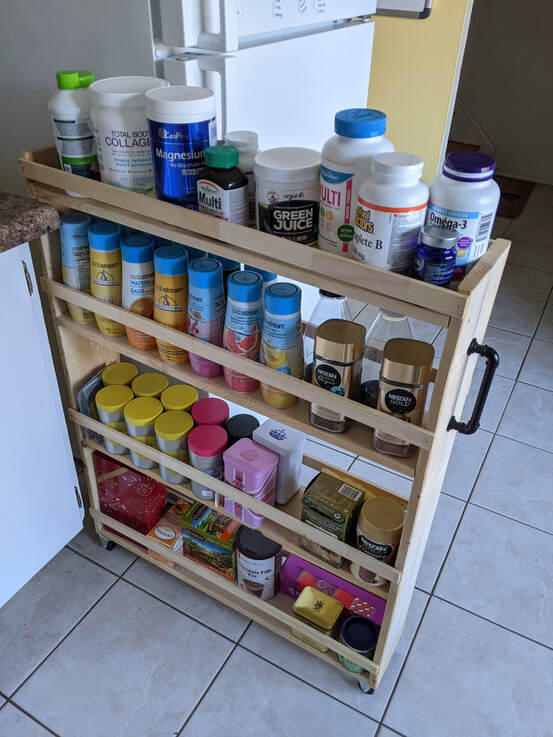
The next home project that was being procrastinated on was a roll out pantry. I did some searching around and found a dead easy DIY and Scott was on board. But again, pricing out building it ourselves, I began to wonder if we should just buy one. So I looked at ones on the market and the ones that were under $100 just looked sooooo cheap, but the fancy ones were something we just weren't willing to spend. So we discussed how we've managed just fine for the last 2 years, we can manage a little longer. Then we discovered our leftover wood scraps from our DIY convertible benches last summer, and wouldn't you know...perfect size for a half-sized roll out pantry. It was meant to be and I was STOKED. Now the unfortunate part is that the wood we got for those benches were pretty warped (and they were the 'good' pieces when we bought them!) so our shelves may or may not have a bow in them, but we persevered and you can't really tell.
I will eventually paint it white to match the shelf we have over our kitchen counter, but I was so excited to use it and empty two and a half of my cupboards that I just could not wait a moment longer. I loaded that sucker up and man it looks good! It's honestly a beverage pantry, it is loaded with teas, coffees and a shelf of vitamins. Which means I can now use the cupboards that previously housed these, to spread out my actual pantry items like tins, baking and sauces.
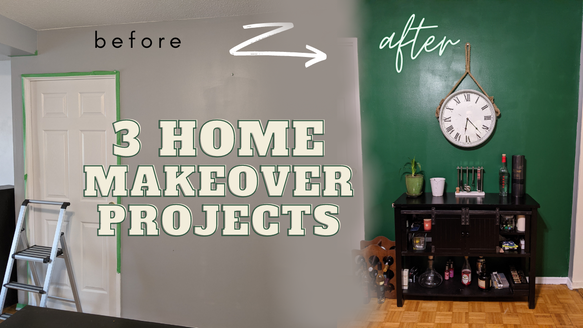
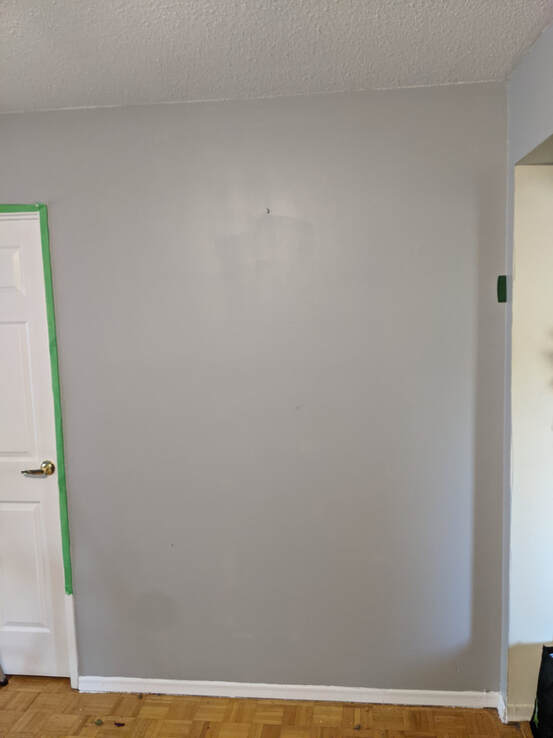
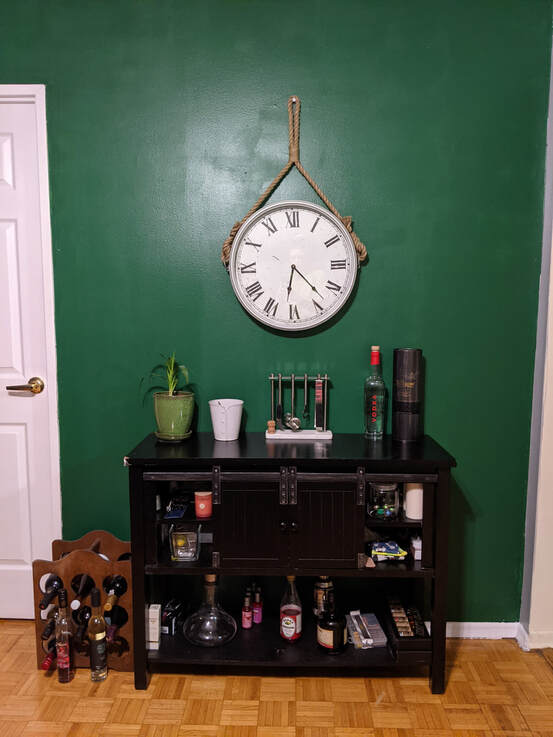
The final spruce up was an accent wall in my dining room. I have been pondering adding a pop of colour since the fall. Most of my house is French Silver by Behr Paint. I absolutely love it, but as I get more into decorating our house, I realized that we were lacking warmth and a pop. This time last year I painted the accent wall in my office 3 shades of green and I am still absolutely in love with it, so I thought green may be a nice shade. In one of our classrooms (formerly an office) there is a deep green accent wall that really pushed me to give it a deeper look. So I equipped myself with a million and one paint chips from Behr's display at Home Depot and set out to find the perfect shade.
This particular wall gets an awkward amount of lighting throughout the day, so I had to be careful with how deep to go so it didn't become a black hole. I had narrowed it down to a couple of colours and then "Perennial Green" sat on my wall in the form of two paint chips for about...3 months. It just wasn't a high priority. But as soon as we whipped up the pantry and got all the things we needed for the closet, I knew that I was going to do it! Now here comes the fun fact...I only purchased sample containers of colour! I did this last year with my office wall; I bought my 3 colours each in the sample size and it was all I needed. The samples are $5 each, you can't beat that. So I purchased 2 containers for my downstairs wall and after the first one, I did panic slightly that I wouldn't have enough, so I went and bought 2 more just in case. I covered the wall with the two containers, and did a second coat with the third. I still have some paint leftover in the third container, so my accent wall cost me $15. The smallest tin of Behr paint is about $35 and I got the same volume of paint in 4 samples containers for $20. So definitely give that a thought if you are only planning on painting a smaller wall.
I hope that these have given you some inspiration for something to do in your home, or reignited your motivation to complete a few 'honey-do' items on your list! Let me know which makeover you like the most and if you'd like to see more home photos, you can follow my new home account @themacleodhome!
1 Comment
Sheikh
9/25/2023 05:32:58 pm
I've always struggled with enlarged pores, but this product has visibly reduced their appearance. My skin looks smoother and more refined. <a href="https://www.digistore24.com/redir/431152/Sheikhmuskaan/" target="_blank">click here</a> to embrace the beauty of flawless skin!
Reply
Leave a Reply. |
|
Social Media |
Contact |
© COPYRIGHT 2015. ALL RIGHTS RESERVED.
|


 RSS Feed
